0
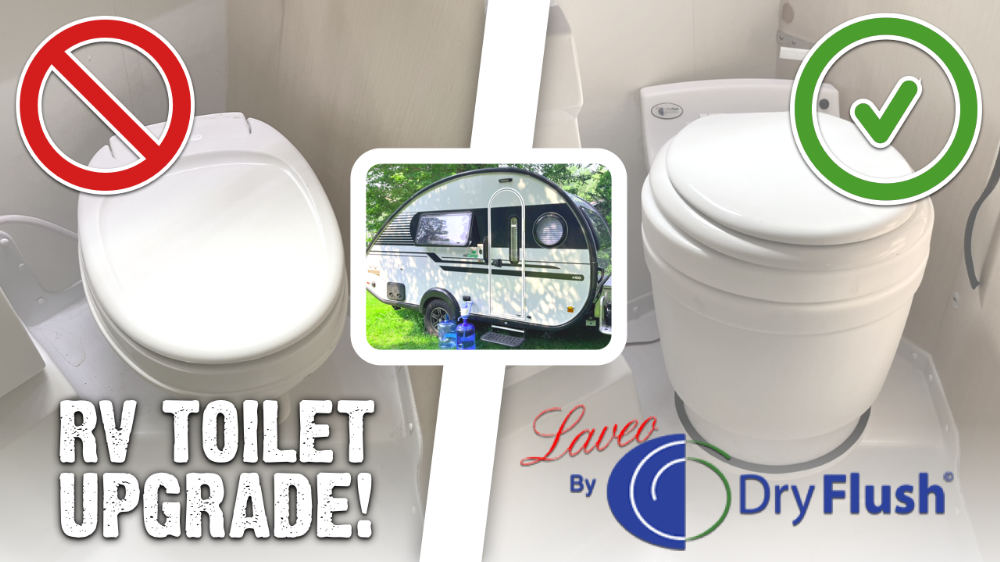
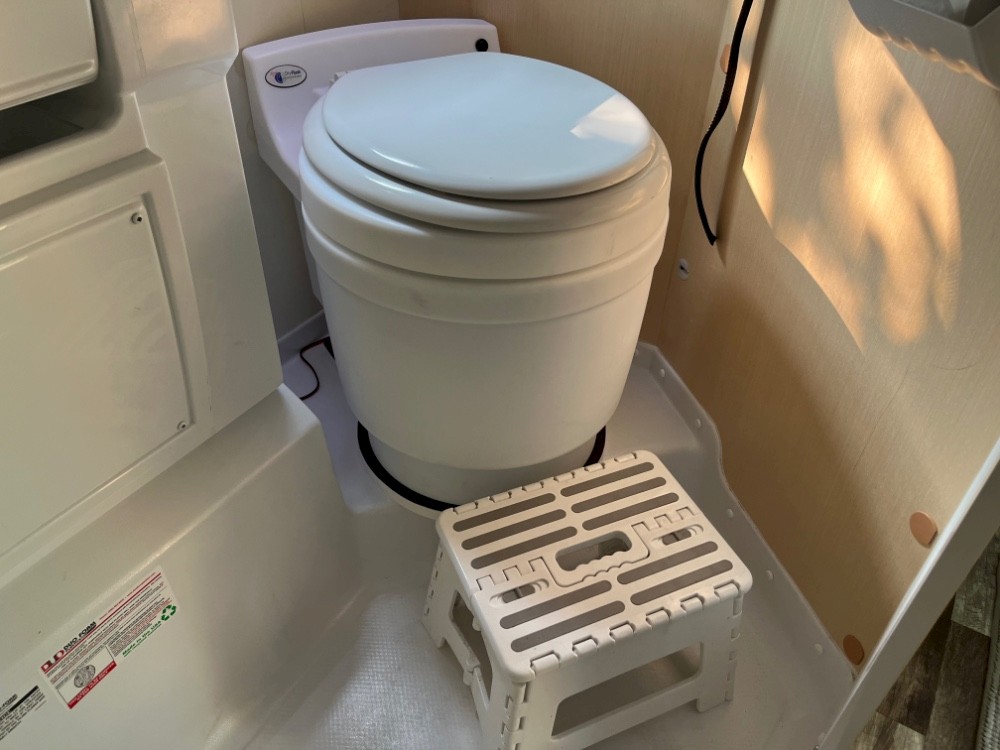
Installing a Laveo Dry Flush in a NuCamp 400 Travel Trailer (Non-Destructive & Removable Retrofit)
In this video, I discuss how I approached installing a Laveo Dry Flush toilet in a NuCamp 400 Travel Trailer — without bolting it to the floor or making any destructive changes to the camper.
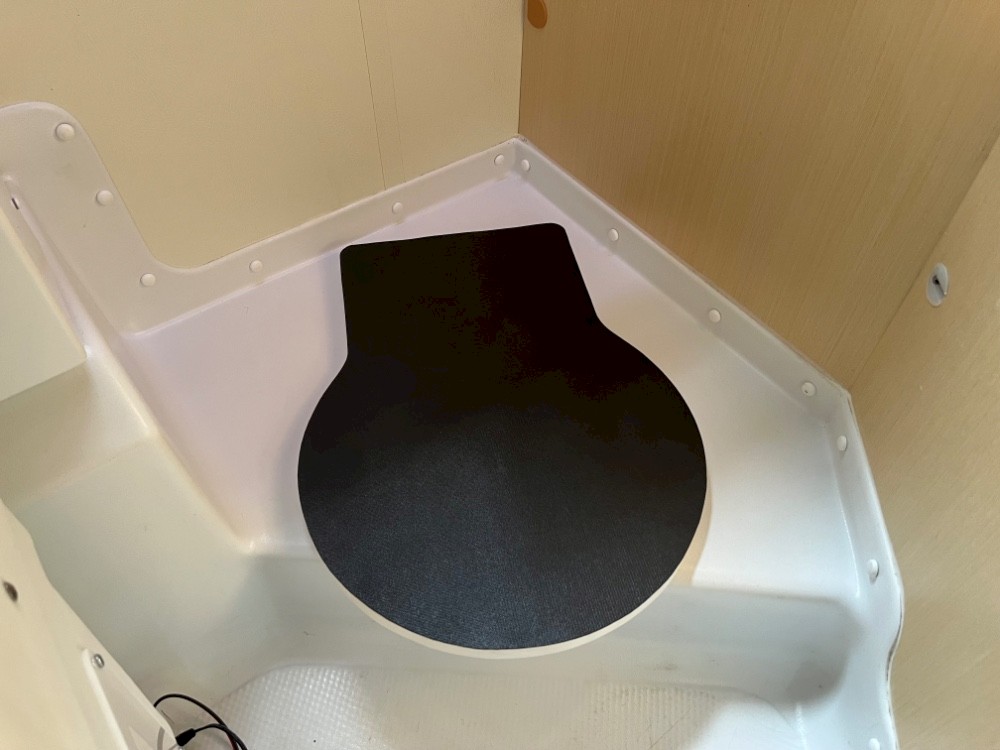
I’ll walk you through the step-by-step process, including how to remove the stock RV flush toilet, and how to set up the Laveo unit without modifying your trailer.
If you’ve been thinking about an RV toilet upgrade or want a black-tank-free solution, this video will make it easy to see what’s involved.
Products in this video
Some of these are Amazon Associate links, which means I earn a small commission if you buy through them at no cost to you. Thanks for your support!
- Laveo Dry Flush Toilet
- PVC Trim Board
- Pocket hole jig
- Pocket hole screws
- Silicone caulk/adhesive
- Drawer liner
- Isopropyl alcohol
- Mounting squares (for attaching drawer liner)
Categories: DIY Projects
Comments: No comments yet
Post a comment